Creating a Purchase Order
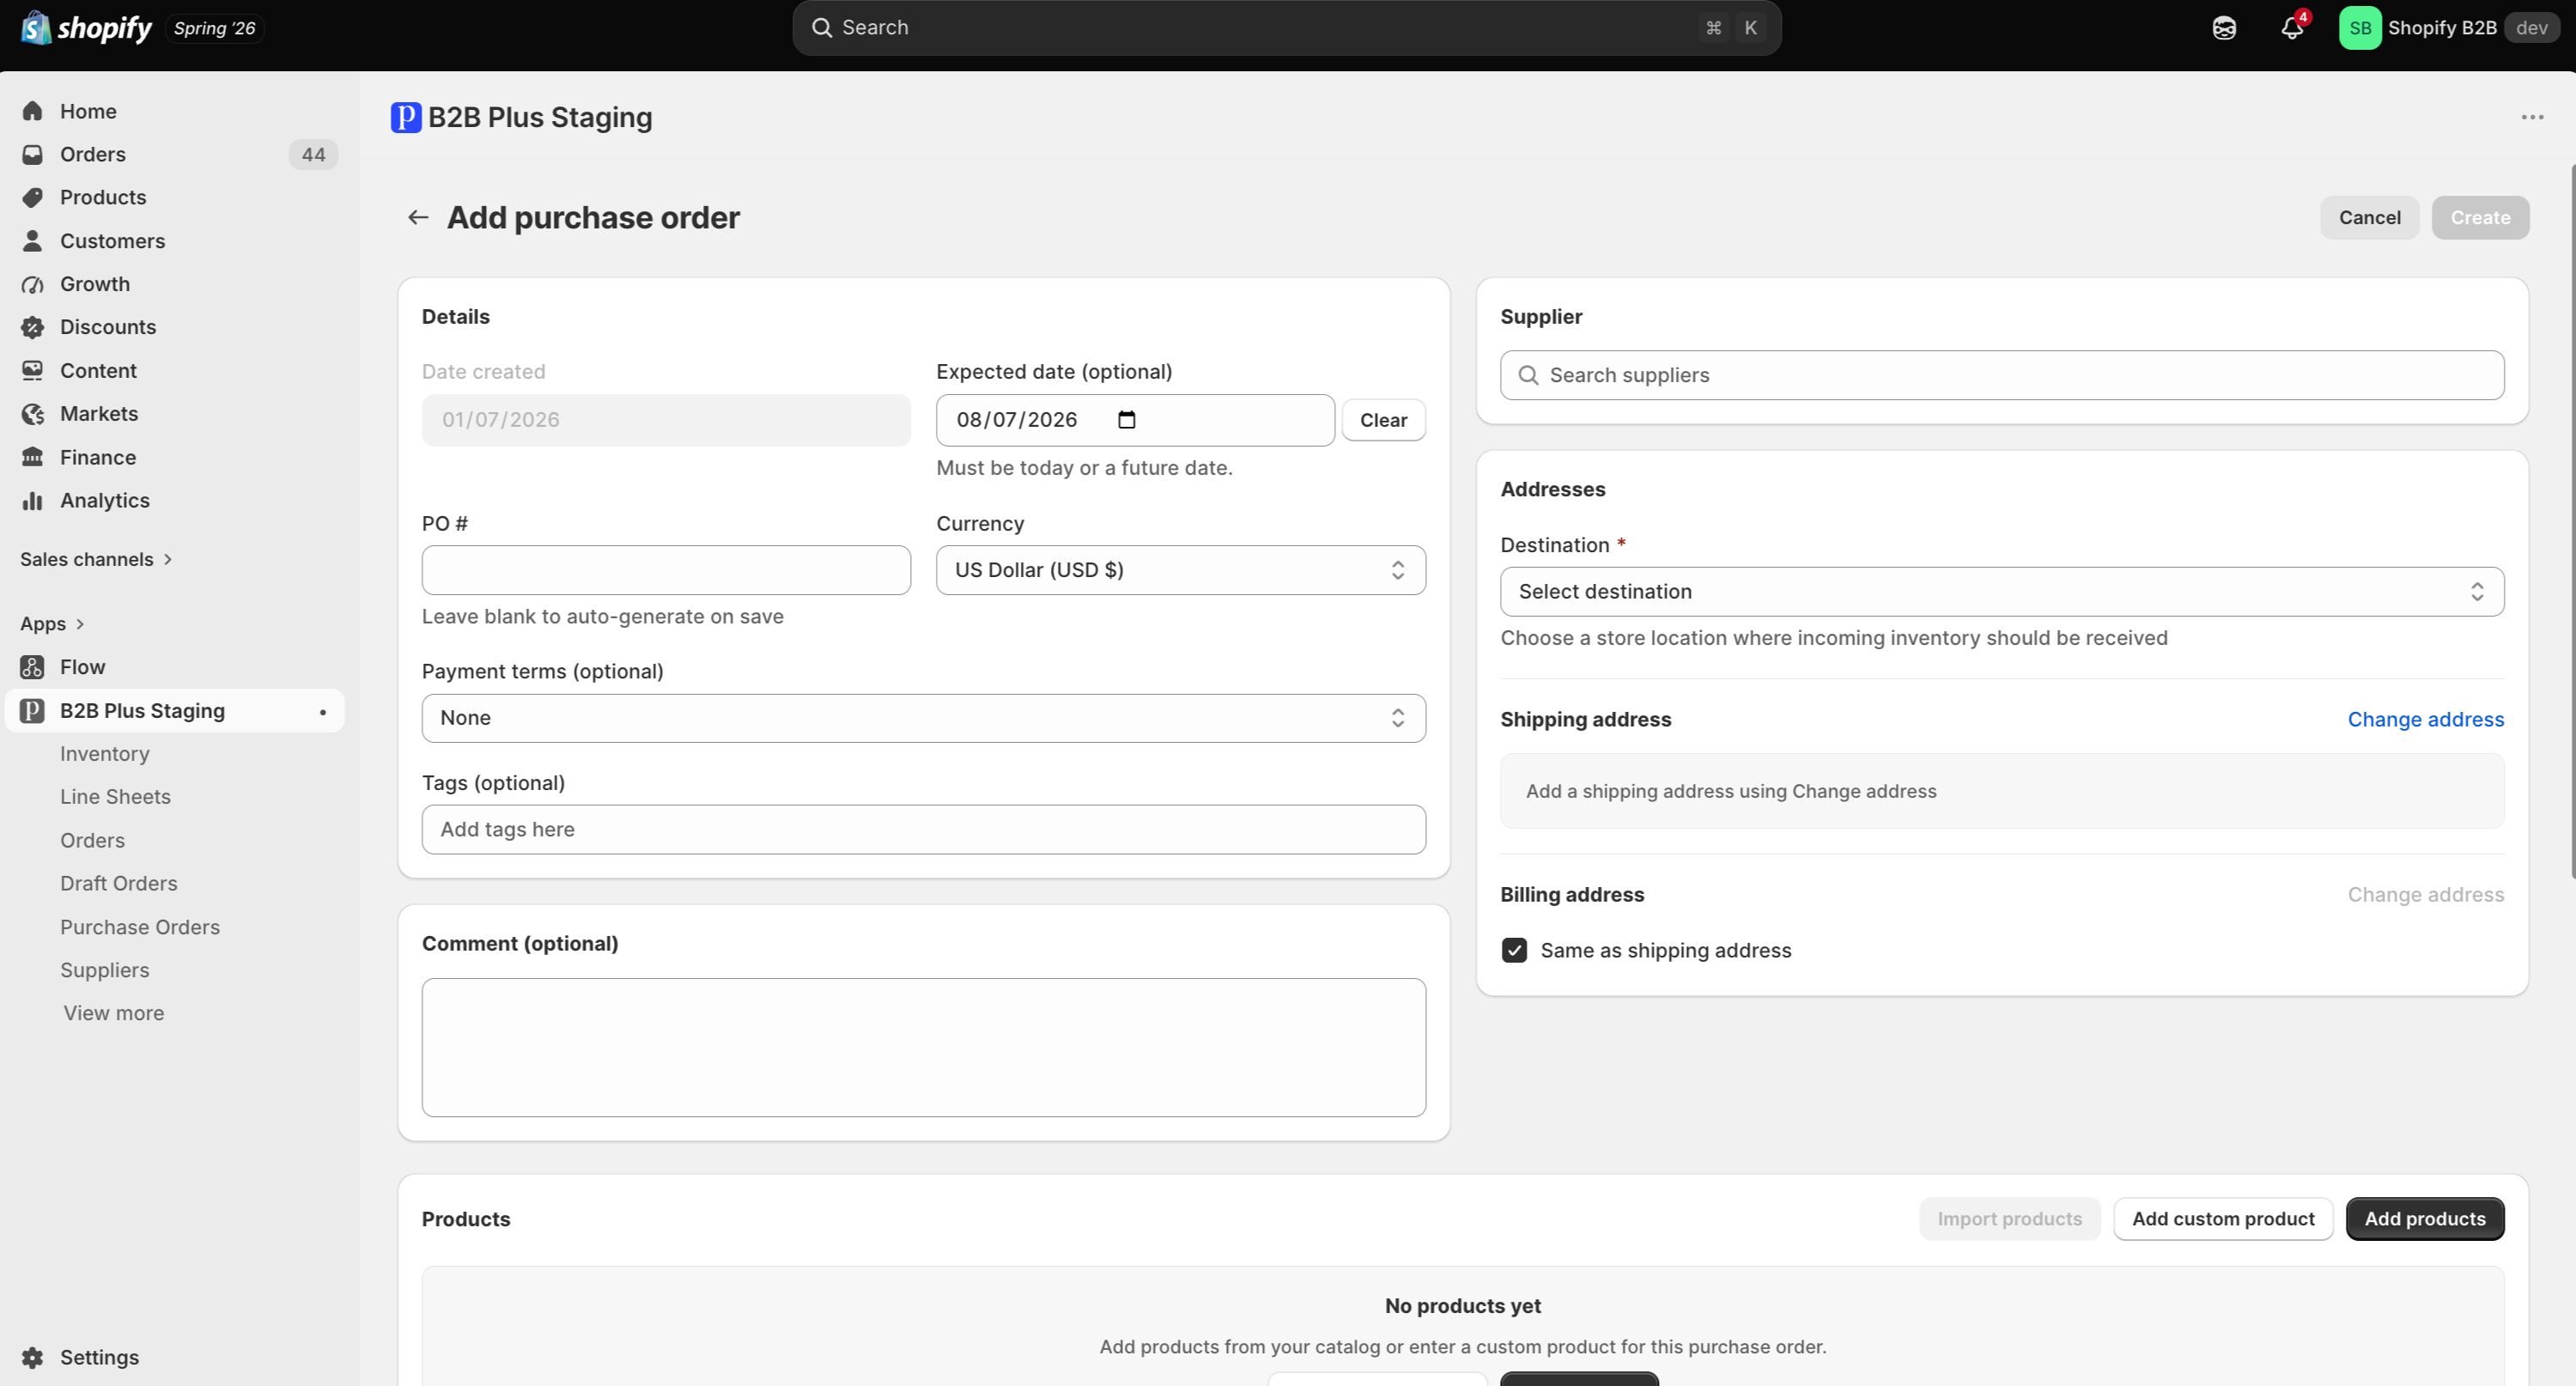
Click Create Purchase Order from the list to open the Add purchase order page.
In this guide:
- Before You Begin
- Purchase Order Details
- Supplier Information
- Shipping and Destination
- Adding Products
- Order Summary
Before You Begin
Prerequisites
At least one supplier and one Shopify location should already exist before creating a PO.
Required Supplier Setup
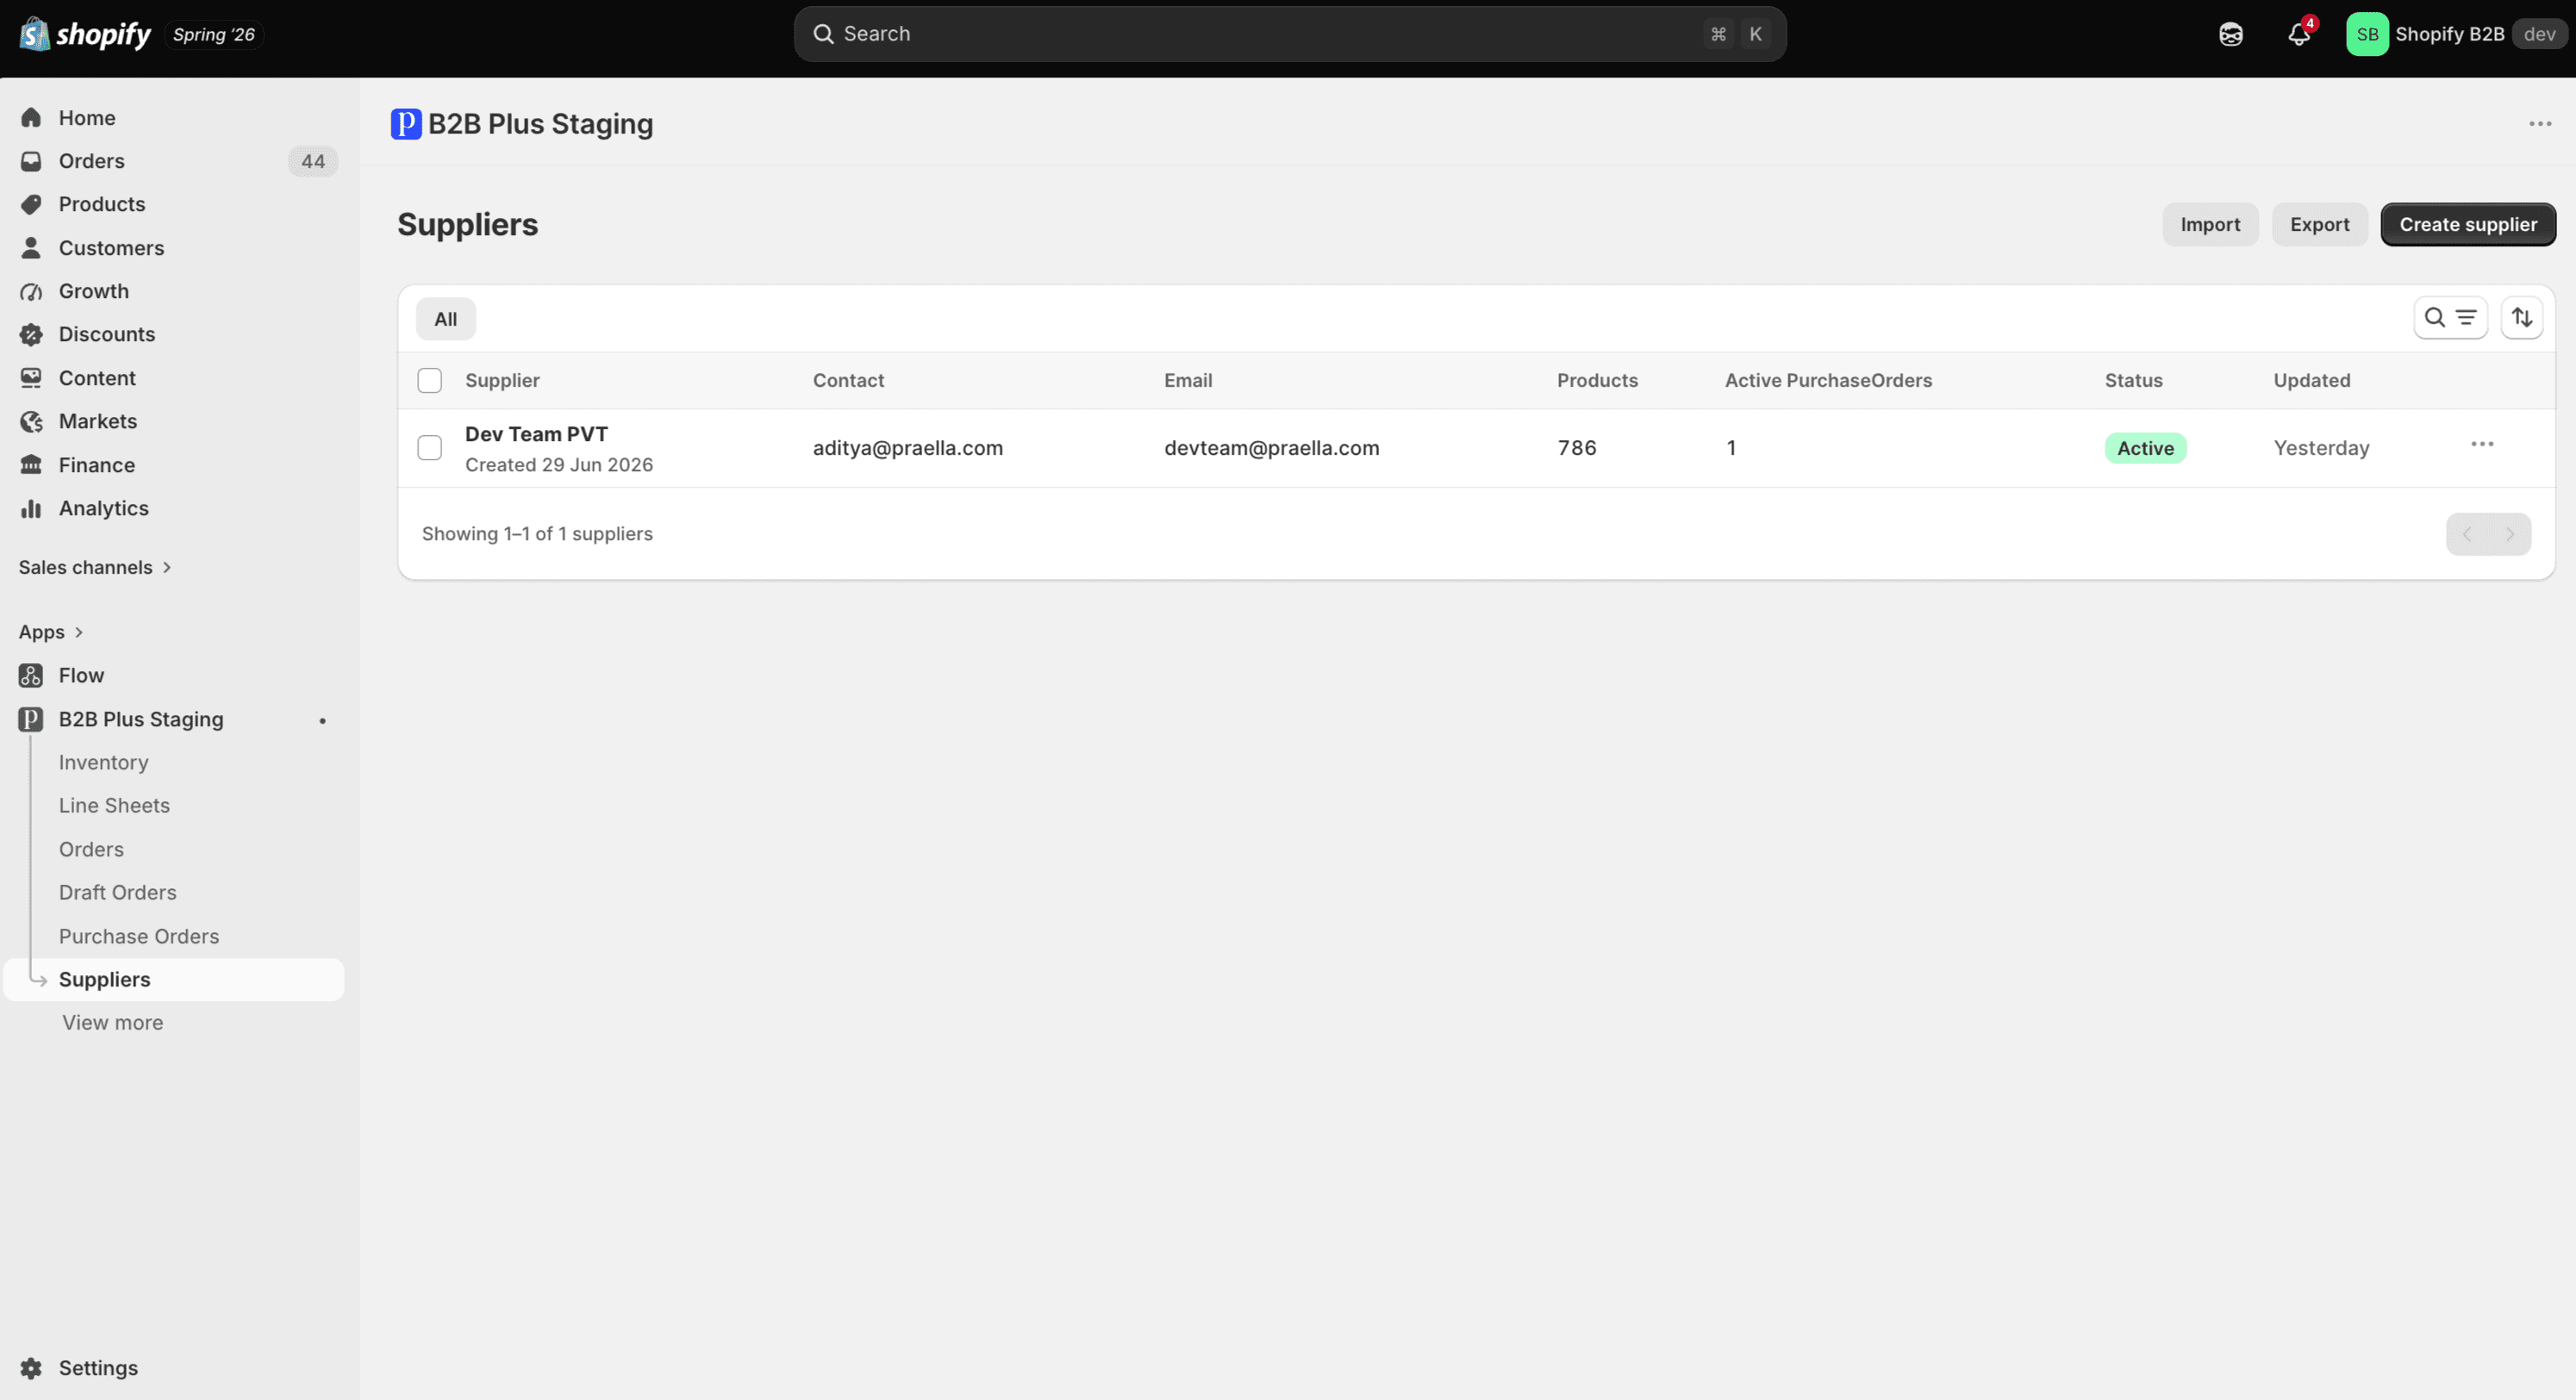
Suppliers are managed separately, in the Suppliers section of the app menu; set up the supplier record (and, optionally, product linking) before starting a PO for faster line-item entry. See Managing Suppliers.
Product Availability Requirements
Products added to a PO should already exist in the Shopify catalog, or be entered as custom products when they aren't.
A supplier must be selected and at least one product must be added before a Purchase Order can be created — the Create button stays disabled until both conditions are met.
Purchase Order Details
The Details card on the Add purchase order page covers the PO's general information:
| Field | Notes |
|---|---|
| Date created | Set automatically (read-only), e.g. 01/07/2026 |
| Expected date (optional) | Must be today or a future date; a Clear button removes it once set |
| PO # (optional) | Leave blank to auto-generate on save, e.g. PO-2026-001 |
| Currency | ISO currency for the order, e.g. US Dollar (USD $) |
| Payment terms (optional) | Informational terms selector, defaulting to None |
| Tags (optional) | Free-form tags for your team |
Internal Comments: the Comment (optional) card at the bottom of the page holds free-text notes for your purchasing team; it is not shown to the supplier.
Supplier Information
Selecting a Supplier
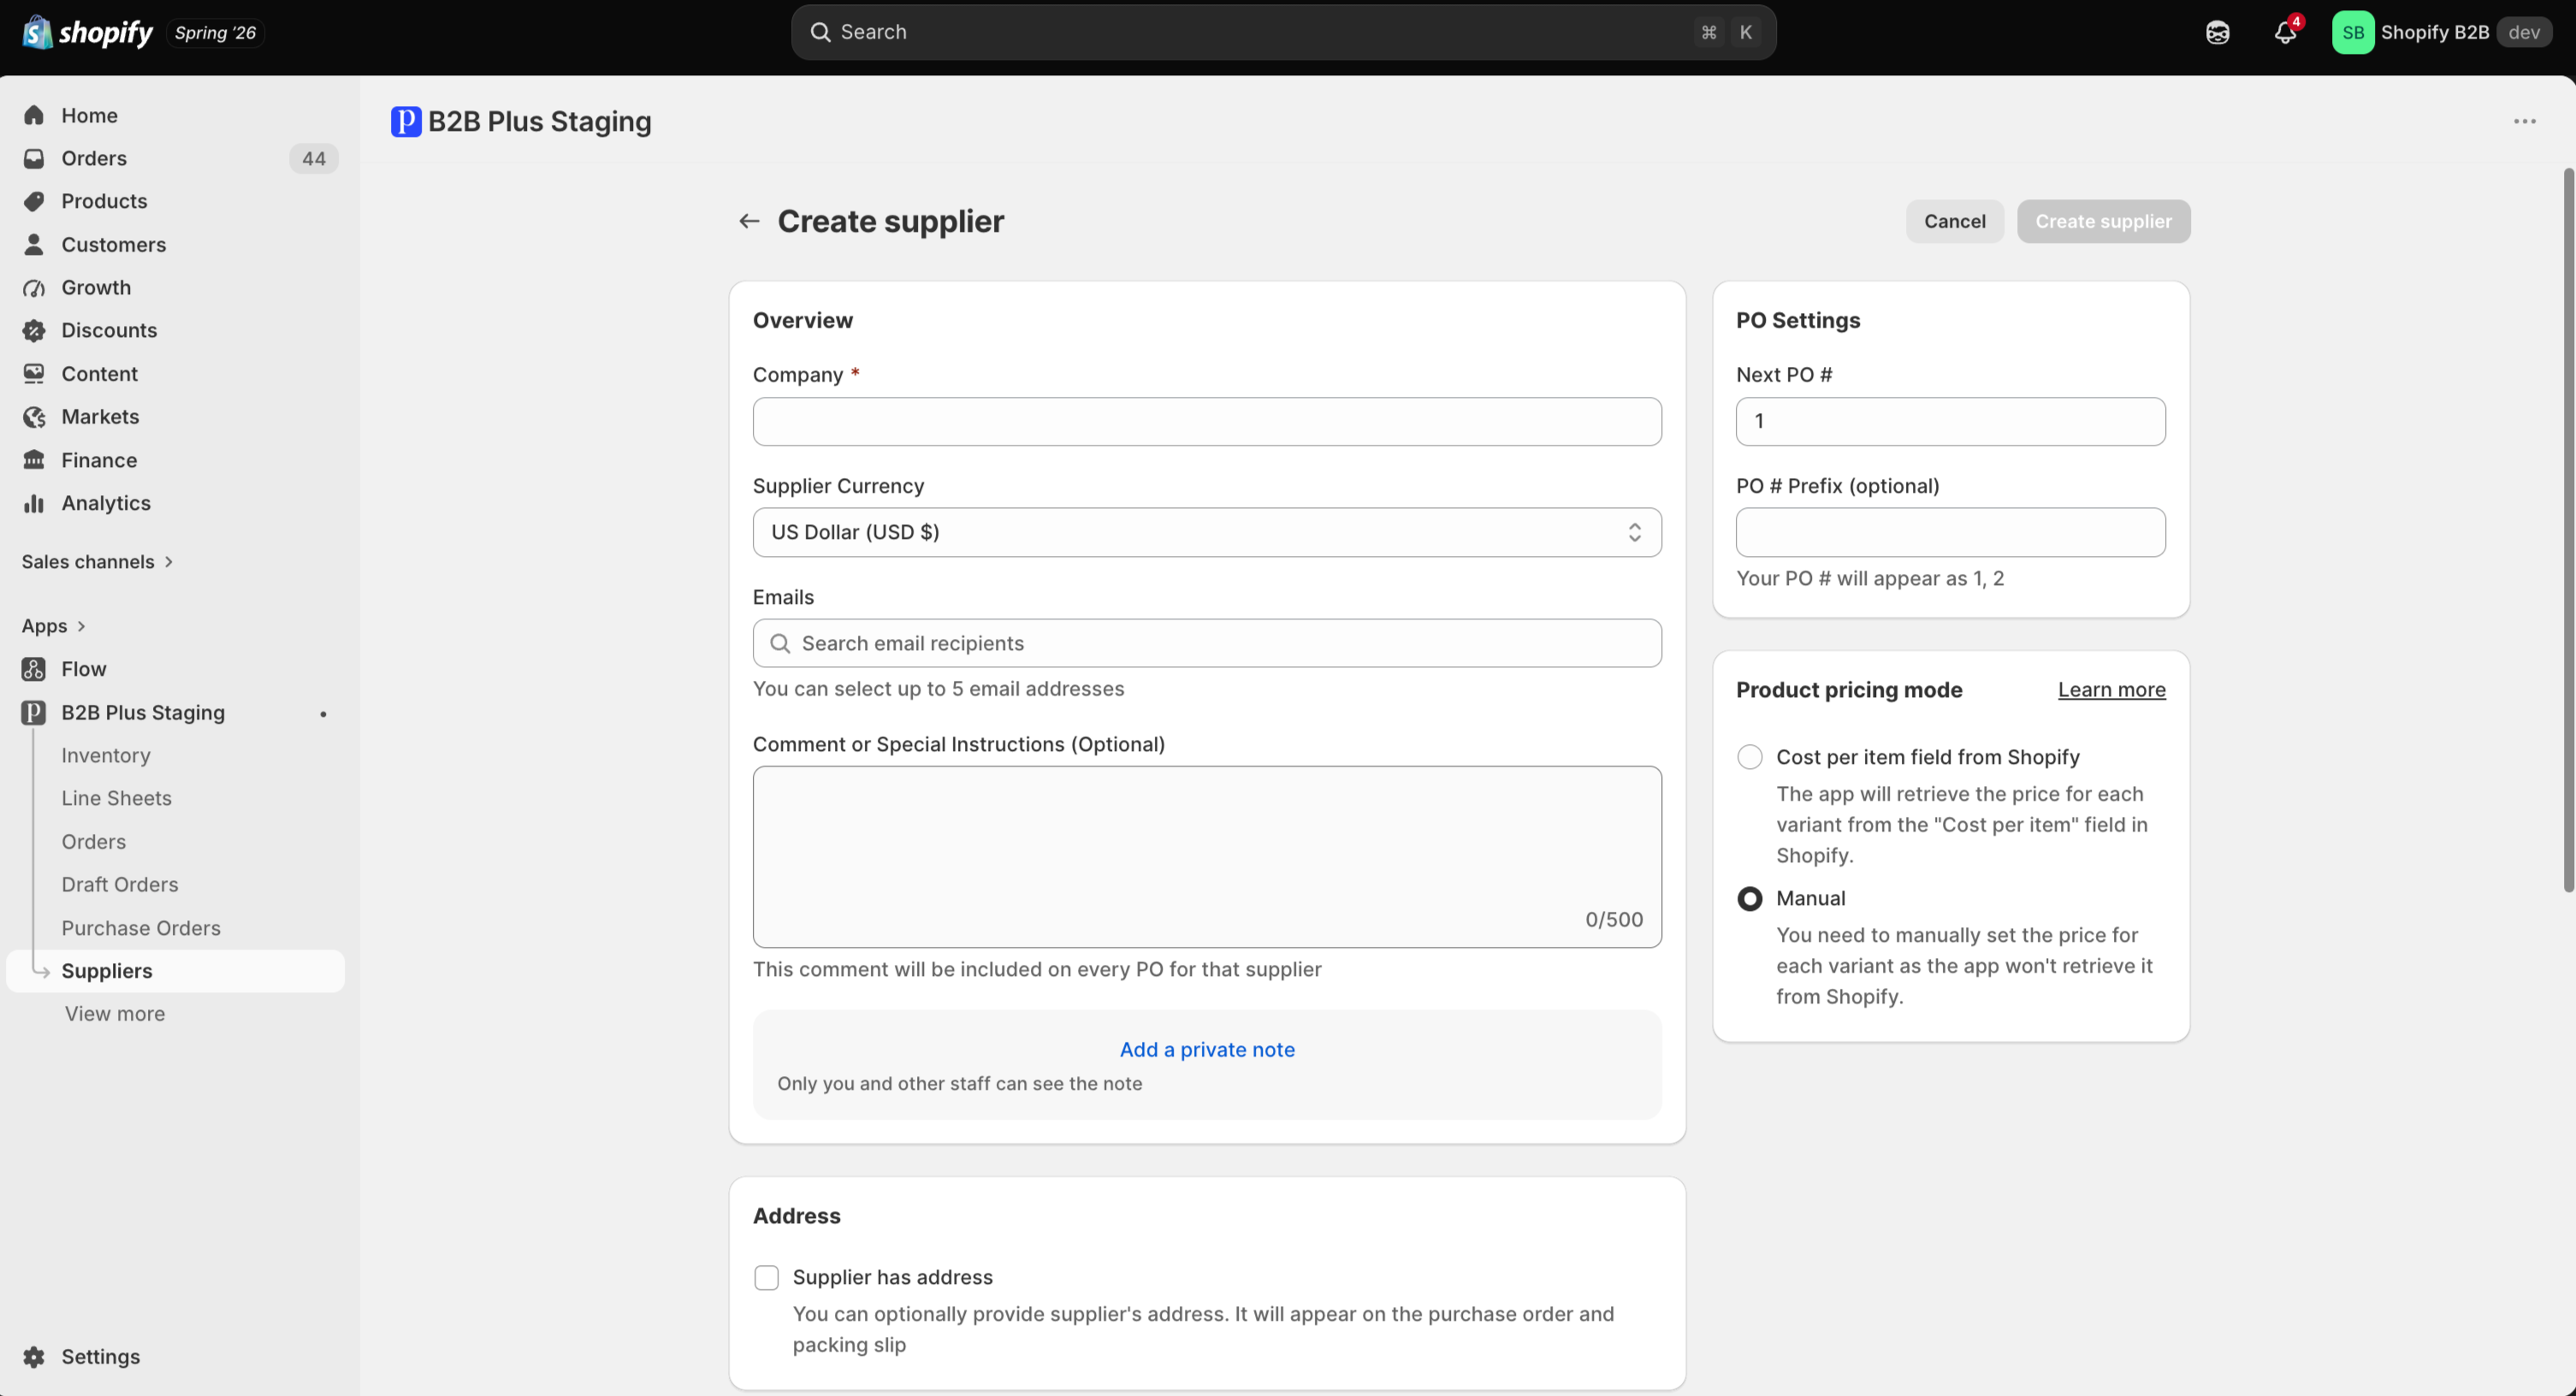
Search and select an existing supplier in the Supplier card's Search suppliers field. If the vendor doesn't exist yet, use Create supplier to open Suppliers → New in a fresh flow.
Supplier Requirements
When a supplier has product linking configured, adding Shopify products can auto-fill supplier SKU, unit cost, and per-line tax for that supplier automatically — the same linking that also drives supplier auto-assignment when generating POs from negative inventory.
Shipping and Destination
Destination Location
Choose the store location where inventory is expected from the required Destination dropdown (Select destination); the hint text reads Choose a store location where incoming inventory should be received.
The destination chosen here is the same location credited with On-hand stock once inventory is received against the PO.
Shipping Address
The shipping address defaults from the destination location; use Change address in the Addresses card to add or edit it (Add a shipping address using Change address is shown until one is set). Once set, the shipping address displays as a formatted block (for example, 123 Main St, My Custom Location, Toronto, Ontario, A1A 1A1, CA, 555-5555).
Billing Address
Same as shipping address is checked by default, so the billing address mirrors the shipping address and the Change address link for billing is disabled. Uncheck Same as shipping address to enable Change address and enter a separate billing address.
Adding Products
At least one line item is required. The Products card offers three actions in its header:
| Action | What it does |
|---|---|
| Add products | Opens the Shopify resource picker — select one or more products; each variant becomes a line |
| Add custom product | Add a line not tied to a Shopify catalog product |
| Import products | Placeholder in the UI (not yet active) |
Before any products are added, the card shows a No products yet placeholder: Add products from your catalog or enter a custom product for this purchase order.
Add Products from Catalog
Add products opens the Shopify resource picker. Search the catalog by product title or SKU; each selected variant becomes its own PO line, ready for quantity and cost entry.
Add Custom Products
Use Add custom product for stock that isn't a Shopify catalog product. Custom lines still carry quantity, unit cost, and optional tax like catalog lines, just without a linked Shopify product.
Import Products
Import products into a Purchase Order is shown as a placeholder button in the current UI and is not yet an active import flow.
Per-line fields
For each line — catalog or custom — you can set:
- Quantity ordered
- Unit cost
- Tax % (when tax mode is Per item)
- Line properties (custom name/value pairs)
- Remove individual lines
Order Summary
Purchase Order Totals
| Total | Meaning |
|---|---|
| Subtotal | The sum of quantity × unit cost across all lines |
| Shipping & Handling | The flat fee entered for the order, added on top of the subtotal |
| Estimated Total | Subtotal plus shipping/handling, tax, and discount — recalculated live as lines and summary fields change |
Tax Calculation
- No Tax — no tax is applied to the order
- Entire Order — a single global tax percentage is applied to the whole order
- Per Item — each line carries its own Tax % field, allowing different tax rates per product
Shipping & Handling Charges
A single Shipping & handling field covers flat shipping cost and any additional handling charges folded in alongside freight cost.
Discounts
Apply purchase order discounts: choose None, a fixed amount, or a percentage, with an optional reason, to reduce the estimated total.
Click Create (top right) once a supplier, destination, and at least one product are set. You are taken to the PO detail page.